Other
Along Came A Spider Created by Sylvia Allan
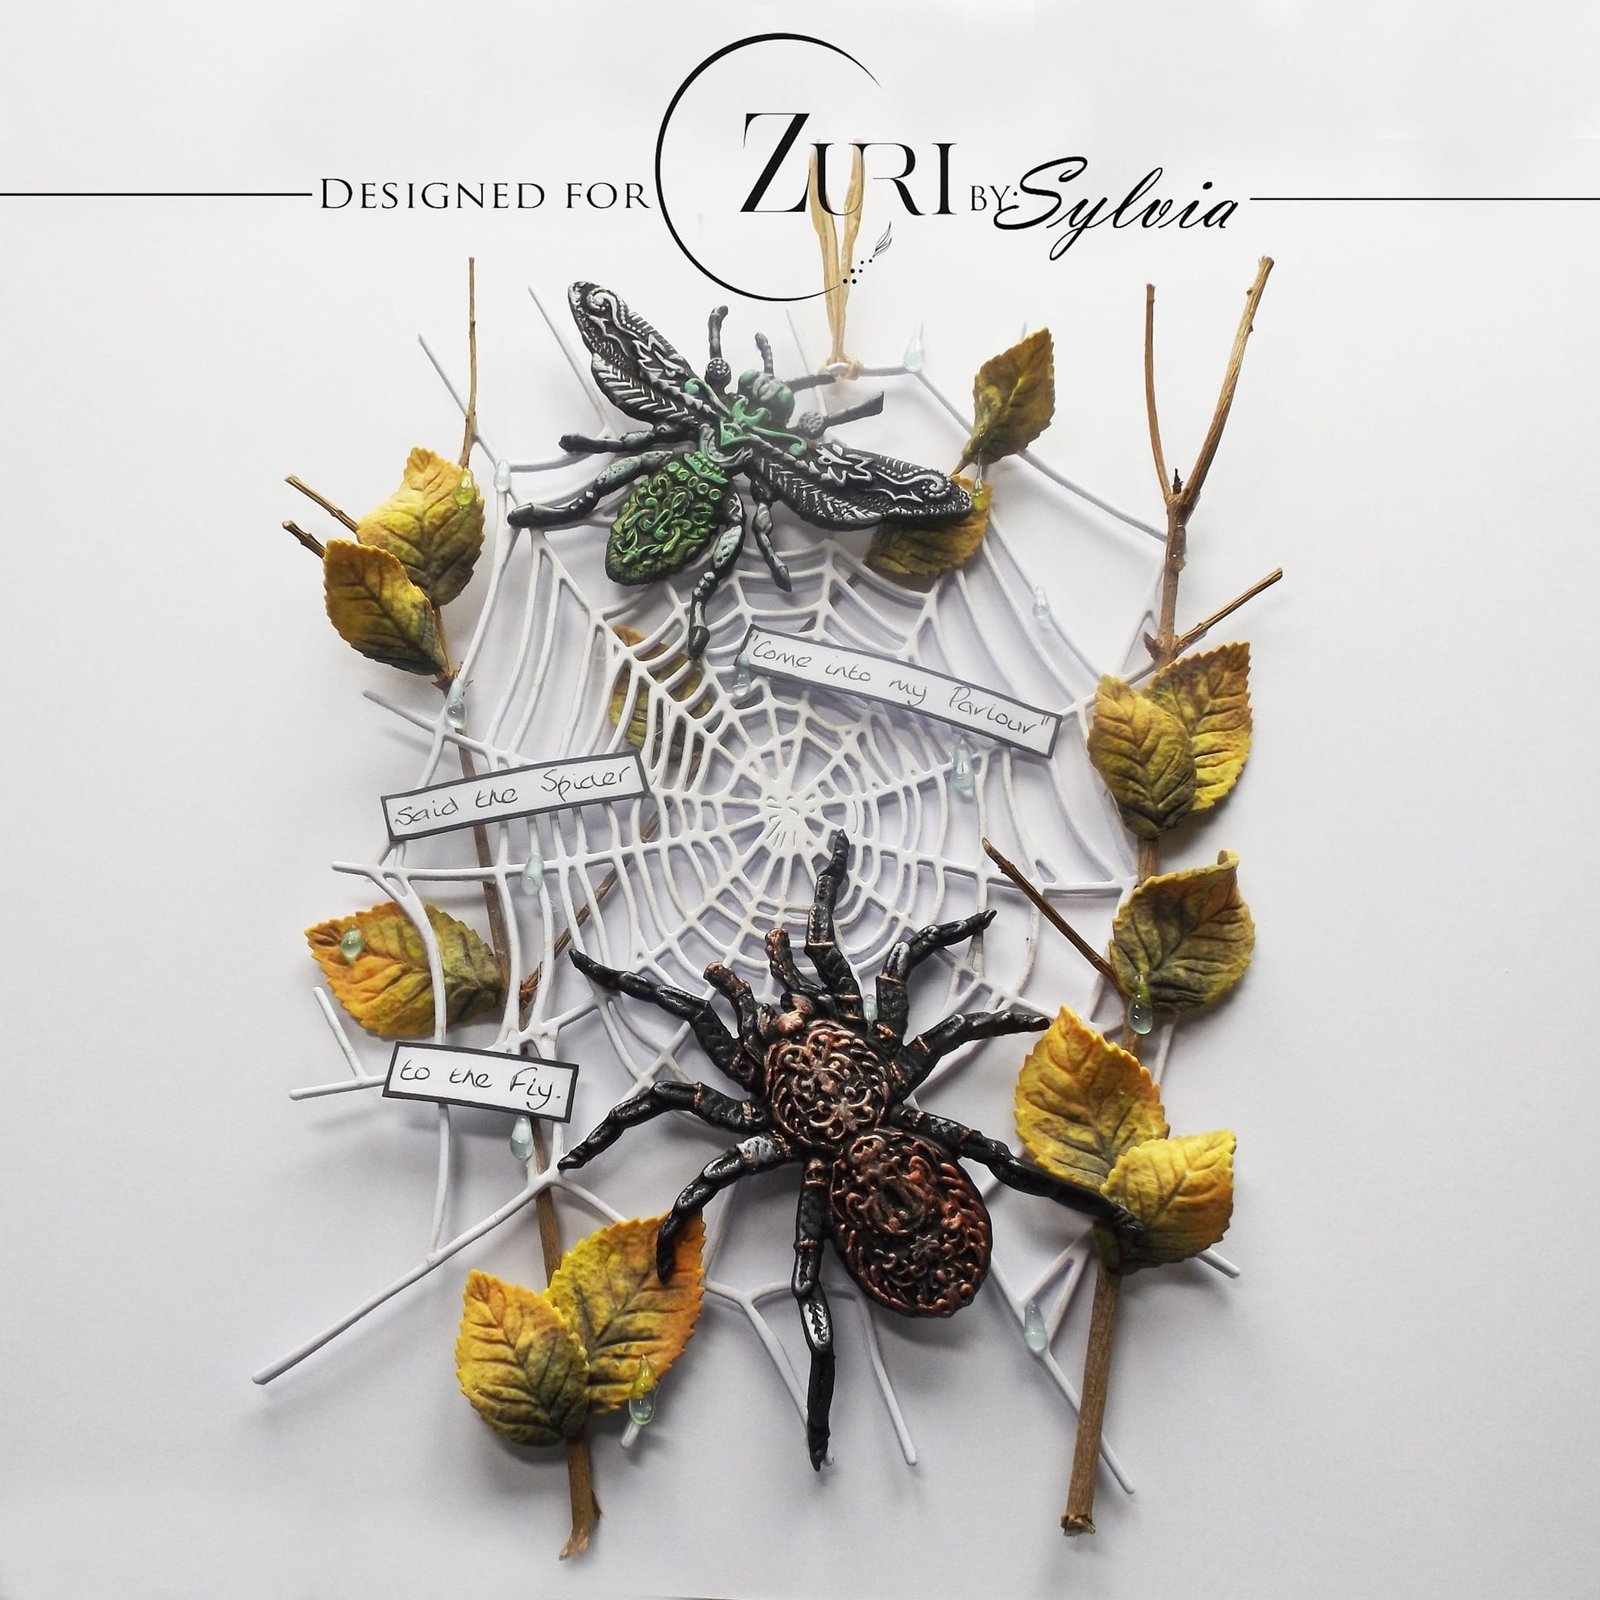
Hi All Sylvia Here,
I would like to share with you the process for making this project,which
I’m calling ‘Come into my Parlour’, using Zuri Design’s Beauty and the Beast moulds.
My preferred product is the Heartysoft Air Drying Clay,
which is best to leave for at least 24 hours to ensure it is totally dry.
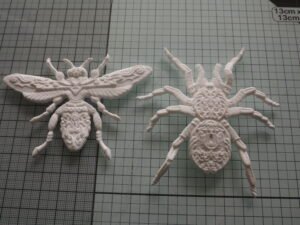
In preparation for making this piece,
I cast Beauty and the Beast On the Beast (Spider)
underneath I placed some balls of clay to lift it up and gently bent the legs.

For the leaves I used Katy Sue Design mould, though if you don’t have a leaf mould it is easy to hand craft some.
Roll out some clay and cut leaf shapes out then score some veins into the clay while wet.
I shaped the leaves to give a more natural look.
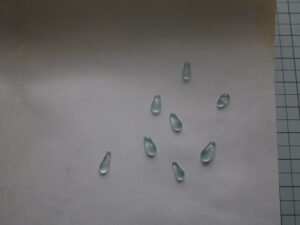
I also made some dew drops using Nuvo from Tonic Studios,
Jewel Drops in Blue, making the drops on the wax paper from 3D foam pads
. . . they will come off without sticking.
Once the clay pieces are dry I painted the fly with black acrylic paint and the spider in a very dark brown.
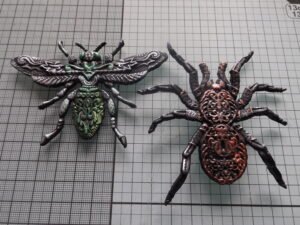
The leaves, I used Tim Holtz Distress Inks,
a mix of Forest Moss and Mowed Lawn with a touch of Carved Pumpkin on the tips,
picking up with a water brush, Leaving the clay pieces to dry,
I continued with making the cobweb. This is a die I bought a few years ago thinking it would be very useful
. . . I’ve never used it, until making this project.
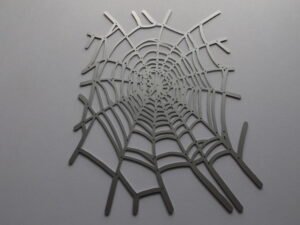
I cut 4 of the webs and glued together to foam a chipboard look.
The twigs are from the hedge in my garden,
which I trimmed to fit the web and glued in position with a gel medium,
attaching the leaves, with some behind the web.
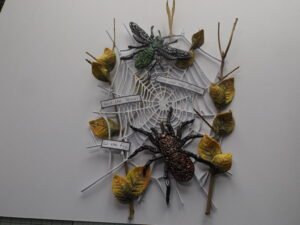
I put final touches to the fly and spider with Nuvo Embellishment Mouse
and Inka Gold. Attaching both with gel medium.
Final touch adding the dew drops on the web and leaves with a clear drying glue.
Lastly, a piece of rafia for hanging and the wording
I hope this tutorial has inspired you and Thank you for reading it
