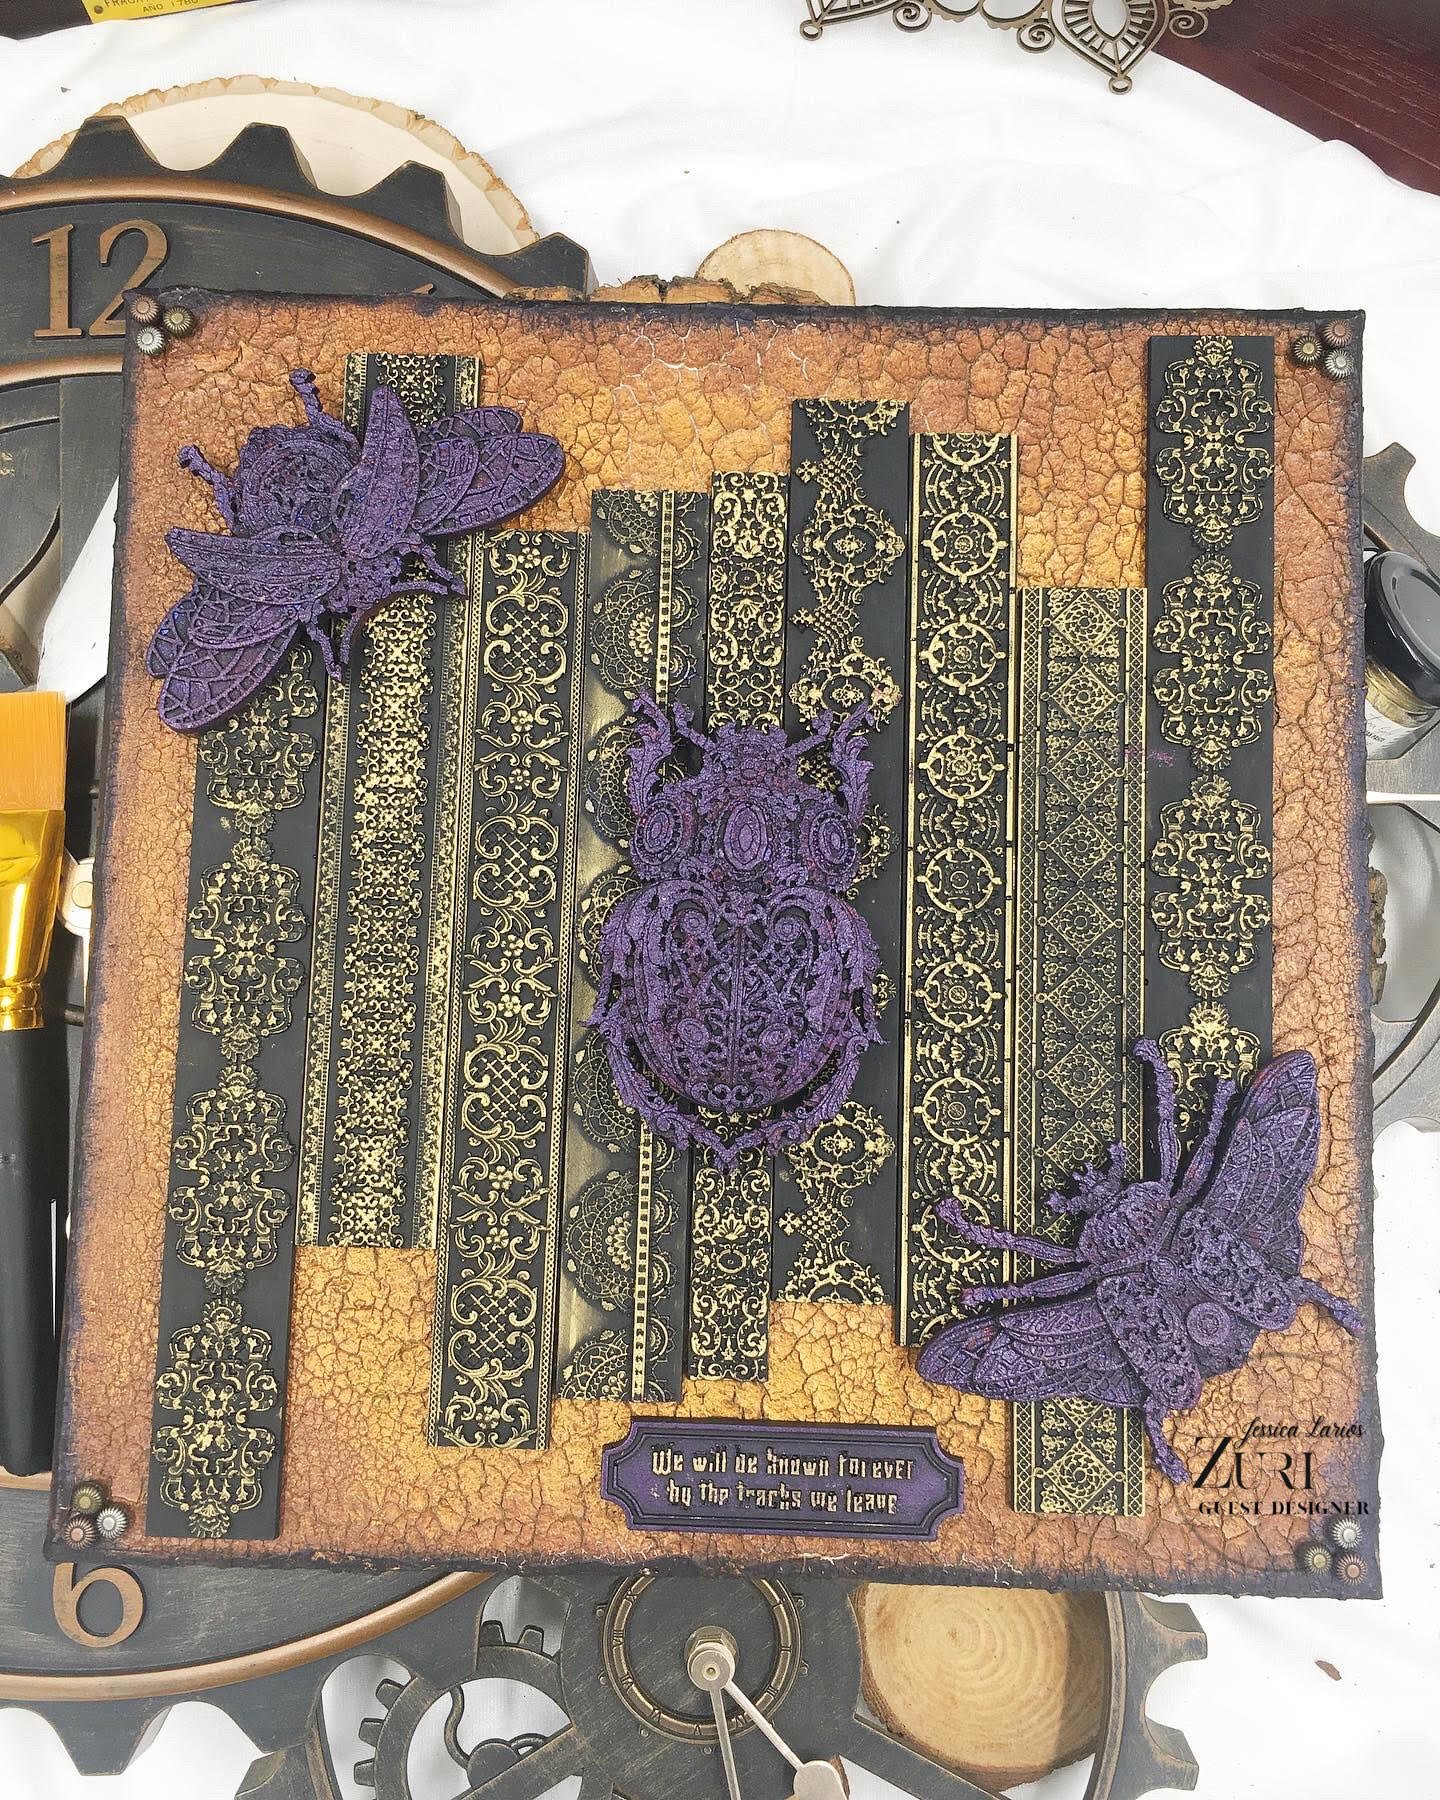
Hello, Zuri fans! Welcome to the blog! I am so very honored and grateful to be here and I hope to inspire you in the coming months. For now, I’d like to take you to a warm place. If you can’t tell, I am going for an Egyptian vibe. I used multiple layers of texture to create a flaking stone wall. The border molds act as pieces of architecture left behind from the great empire for us to admire. The bugs and beetles are remnants of jewels embedded in the wall. I’ve always found purple to be a very royal color. Funny story, when making this piece I couldn’t decide how to color the bugs and beetles. You’d be surprised… I colored these castings twice before finally going with the royal purple. In the end, I found that painting them multiple colors like that really made them unique. What are we waiting for, let’s goooo!

Product List
**Let’s get to molding, shall we?!**
1. You’ll want to begin laying down a nice layer of texture paste
*Hint: I make my own texture paste
2. Once that texture dries, put down a layer of crackle paste
*Hint: I used a copper-colored crackle
3. Seeing those crackles makes my eyeballs so happy! It’s setting the theme up just right for these beautiful castings.
4. Alter your border castings using black gesso and gold wax
5. Alter the bug and beetles using acrylic paint
*Hint: I couldn’t decide how I wanted to color these bugs so you will see three different colors which, in the end, I think turned out really cool.
6. Now that your castings are all painted, begin laying them down using your favorite adhesive
7. Before laying the bug and beetles down, distress the edges of the canvas using black acrylic paint
*Hint: This gives it a frame and, in my opinion, provides an overall finished and complete look
8. Attach your bug and beetle, raising them a bit with cardboard, to your border wall
9. For finishing touches, add a quote casting and some metal bits to the corners
*Hint: The quote casting I altered using black gesso, purple acrylic paint, and gold wax
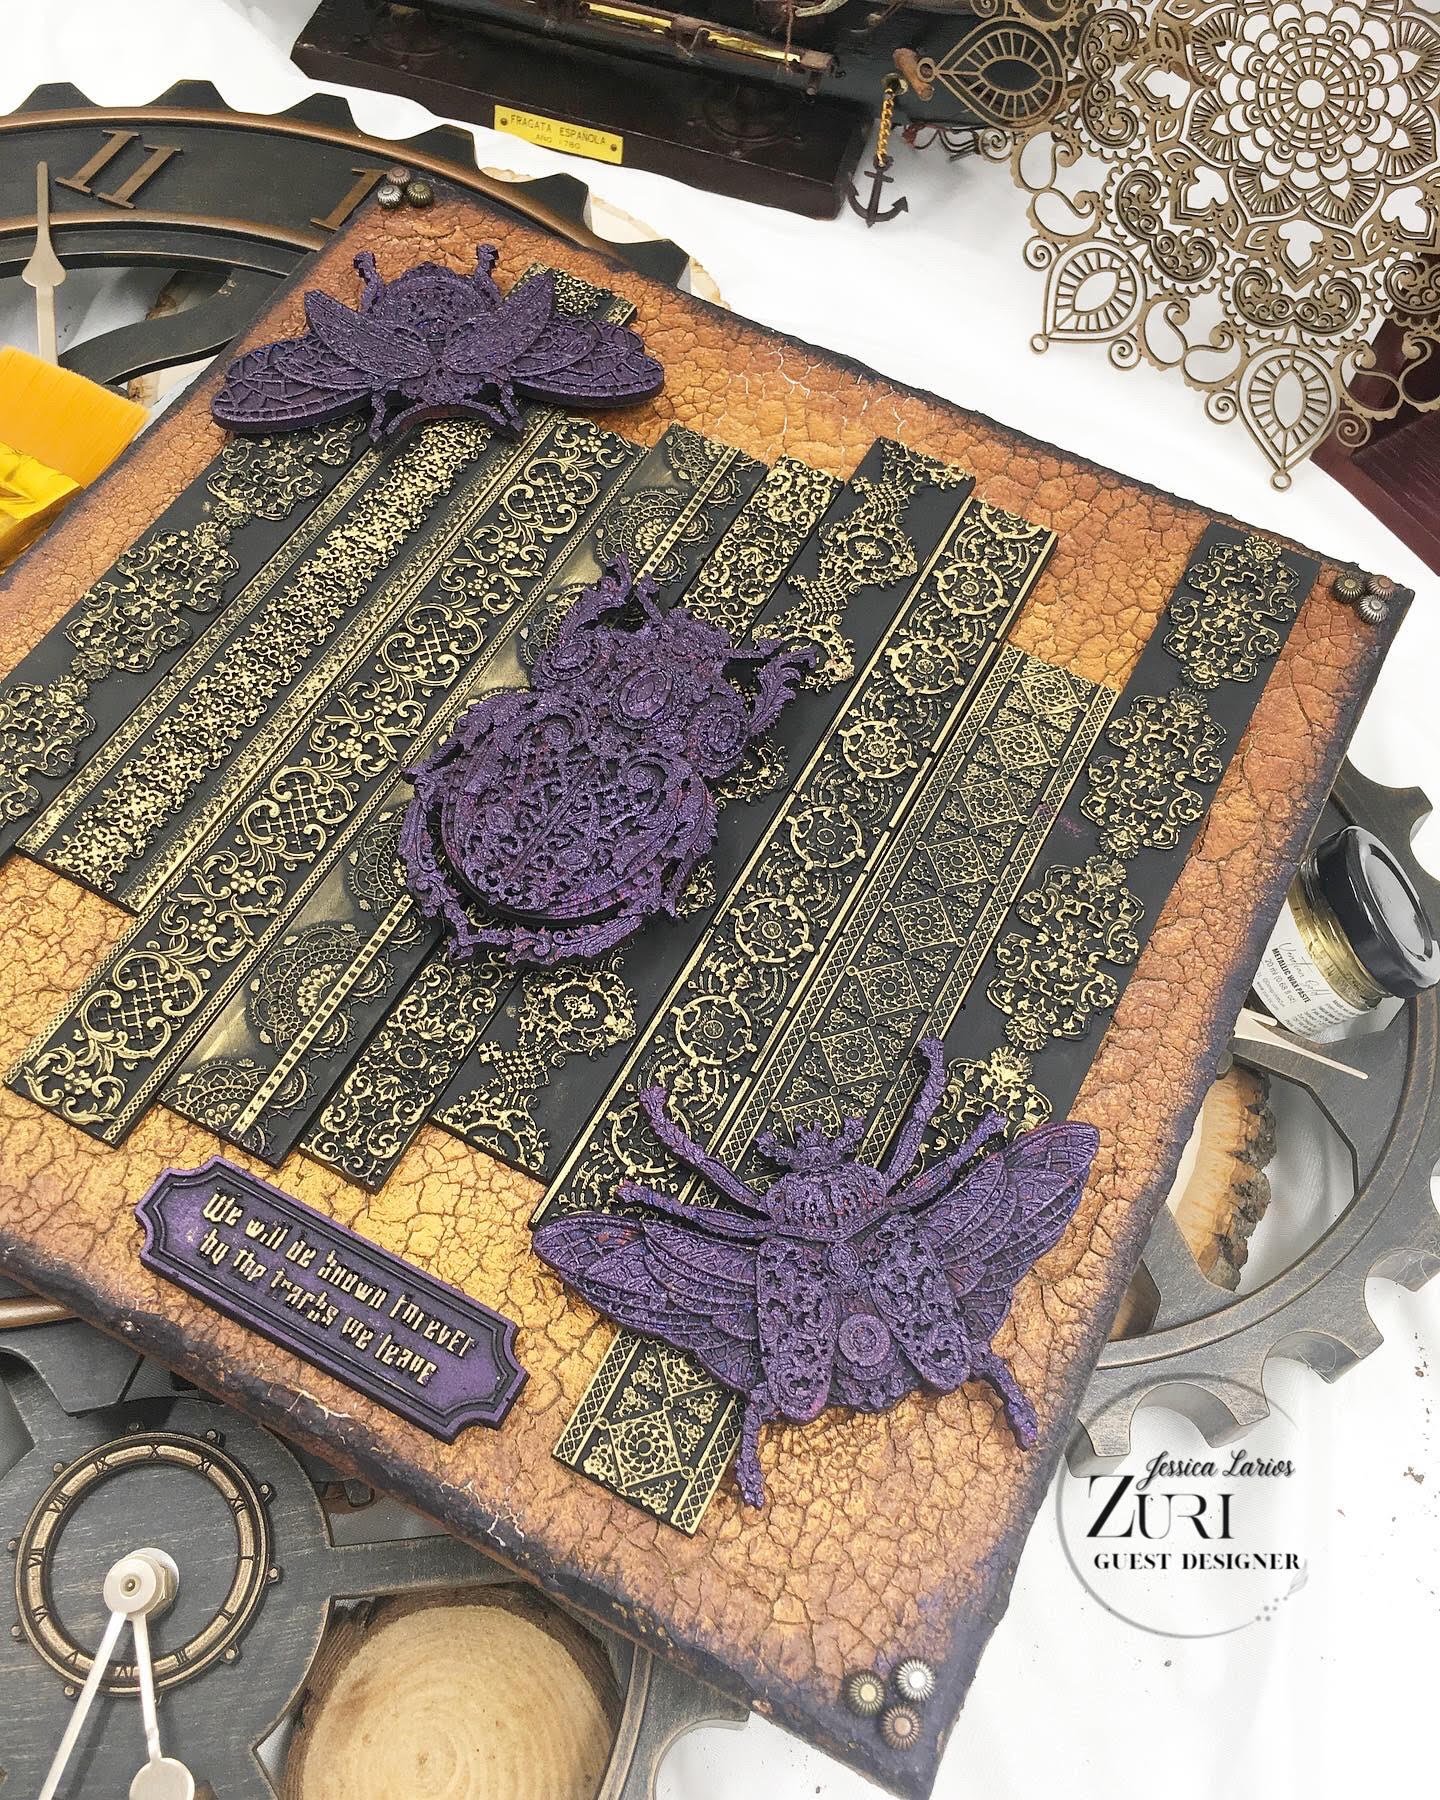
Here is a close-up for you to enjoy!

I hope you had a good time with us today. Until next time stay crafty everyone!!

